Technology becomes updated with the passage of time and the Windows 10 is one of the examples herein. This OS debuted back in 2015, till now the user has surged more than 1 billion. This massive popularity uplifted with its user-friendly and sophisticated features. As a user, you can’t get the ultimate benefit unless you know about those features. This article on Windows 10 features will notify you of those features. So, if you still not use this OS or amateur windows 10 then read it carefully.
Table of Contents
Windows 10 Features and Benefits
Here you will notify with both features and the benefits you will get from it. So, let’s take a dive into this article and find out what lies in there.
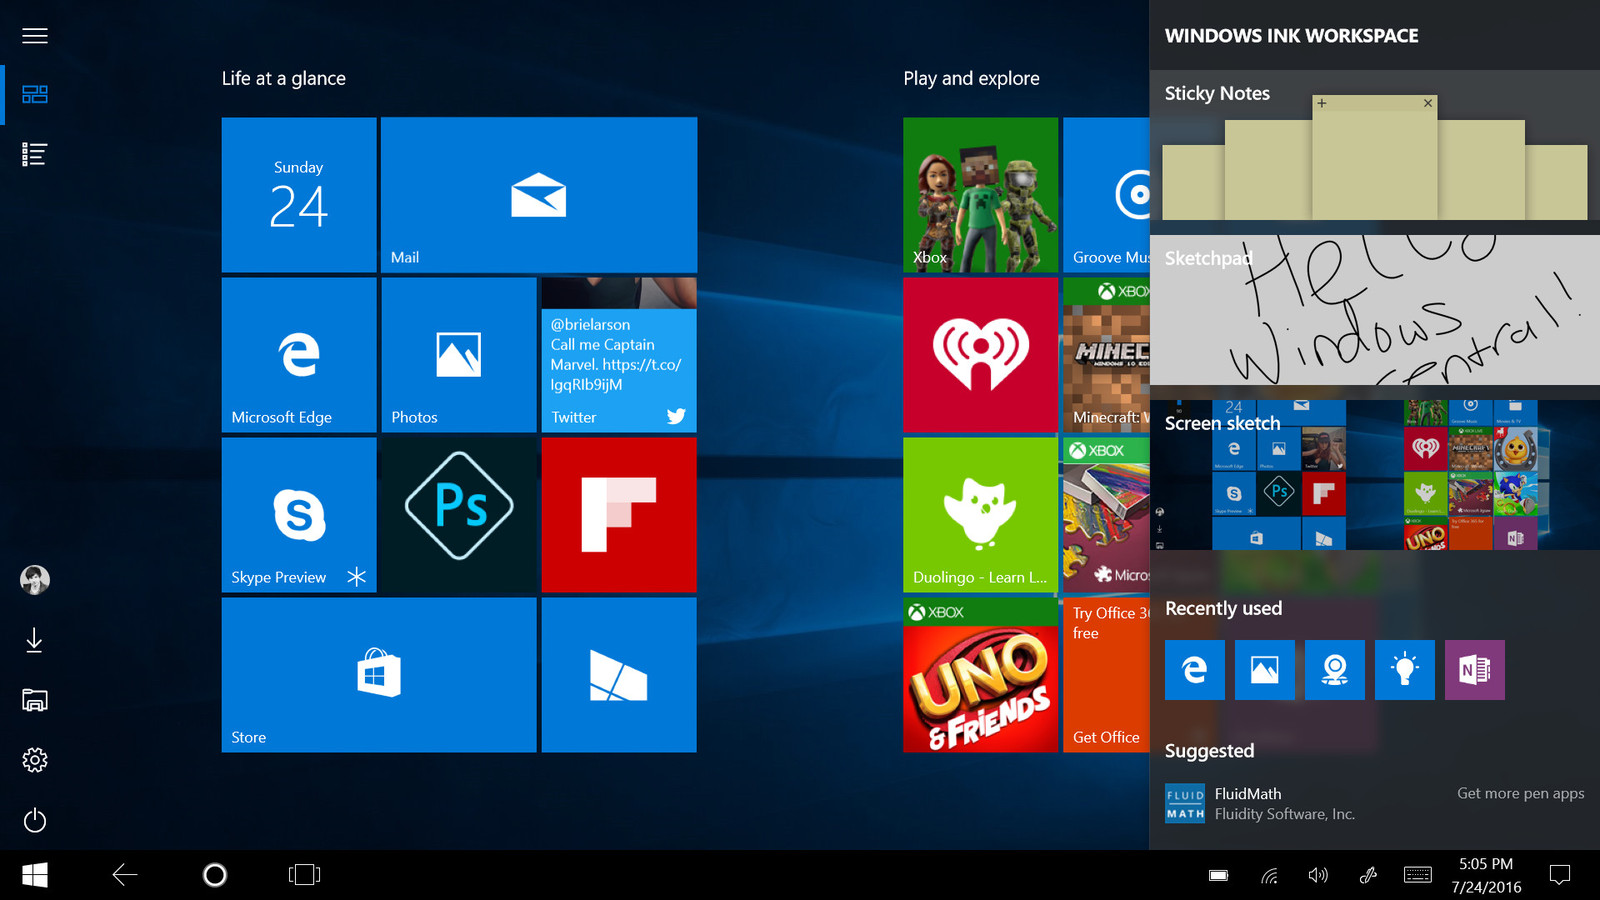
Handy Start Menu
The start menu in windows is a by born feature. But in Windows 10, the start menu is more user friendly than the former OS. For the user, it lies as usual on the left side in the footer. When you click on that logo, it will open with two panels side by side. One side is narrow and full of some necessary programs to navigate easily. Another side which is large and lets you place whatever you want. Here you can place both online and offline items, like social media, photos, MS- office, etc.
However, you have the option to customize with programs, change color, and resize this panel. Also, the start menu lets you enlarge it like a full screen whenever you want. Interestingly, you can turn your Start menu into transparent-ish.
Cortana- A Standout Windows 10 Features
You may hear the typewriter that produces sound and give writing feelings. At present, that typing era gradually extinct due to replacing by the voice-controlled system. Windows 10 offers such a voice-activated personal assistant named Cortana. Therefore, the user doesn’t need to lift the finger rather just give command through voice. This option helps to travel freely inside and outside the pc through voice command. That means you can search for items in both hard drives and from the internet with just say the name.
The user can enable and disable easily this feature by following an easy path, which is-At first, navigate to Settings then scroll to find out Hey Cortana and toggle it on/off.
Multitasking Facility
The user sometimes needs to do multiple tasks but it becomes impossible while you have one monitor. Thankfully, Windows 10 brings improved multitasking facility to do various tasks simultaneously by opening multiple windows. Now, the user can able to open Netflix, Amazon, or MS Office files on a different desktop. Whenever you want you can easily enter into any of your open desktops.
Don’t need to worry about the limitation because you have the option to open so many desktops at the same time. Besides, you can customize the place like 1st desktop, 2nd, and so on. Moreover, whenever any of the tasks finished, you can easily delete it by clicking in the X (close) icon.
To open this multitasking Windows 10 Features, you have to-
Click on the Task View button to open the new Task View pane. Another way you can navigate through pressing the Windows Key + Tab at the same time. After that, click on the New desktop to open the virtual desktop.
To move your existing virtual desktop-
Click Windows Key + Ctrl + Left Arrow to move left and Windows Key + Ctrl + Right Arrow to move right at the same time.
Continuum
Windows 10 brings a notable feature named continuum. This feature comes to help the user while using the hybrid laptop-tablet device. This feature can detect whether you are in desktop mode or tablet mode.
Let’s see an example to clarify it-
When you use Surface Pro 3 by attaching a keyboard the Windows 10 will default to desktop mode. Nevertheless, when you remove the keyboard from the Surface Pro 3 it will switch to tablet mode. This desktop to tablet transformation will occur after taking permission from the user. The tablet mode will let you navigate the program through the touch screen facility.
Interestingly, you will also find the continuum feature on mobile with windows 10 OS. Therefore, you can attach your phone to monitor, keyboard, and mouse.
Universal Apps
Another highlighted feature from windows 10 features is its Universal Apps. Microsoft brings this feature through windows 10 that will make the apps universal or usable for different platforms. For instance, any of the apps that developed for a computer can run in any type of windows-compatible device.
Microsoft developed the UWP (Universal Windows Platform) and a better windows store to serve such the unified storefront facility.
A user can easily access to the Windows Store by clicking the icon from the taskbar. Afterward, he can search for any type of apps he wants. Some notable apps you will find as in the universal category like Netflix, Fresh Paint, Dropbox, Flipkart, Flipboard, etc.
Xbox App
Computer use varies from person to person like the scientist uses can’t relate with the home one. The home user mostly uses the pc for playing the game. For this game lover, windows 10 introduced the Xbox app for Windows 10. With this, the user can discover and download more than 100 high-quality PC games. Also, the player can watch his friend’s current gaming and communicate with others across PC, mobile, and Xbox console. Interestingly, you can search for a new team or squad quickly without leaving the current game.
However, the gamer requires blissful graphics, so here you will find HDR screens, 4K graphics facilities. Thanks to the new DirectX Raytracing feature that will give a gamer better lighting, shadows, and reflections experience.
Before using this feature, you have to ensure your windows 10, Xbox app, and the Xbox console is updated. So, to make sure or check update, you have to navigate-
For your windows => go to Settings > Update & security > Windows Update.
For your console => navigate to Settings > System > Updates.
New Action Center
Since you placed your favorite apps in the start menu, those will probably give you notification timely. Regardless that you will get many necessary notifications related to the current status of your pc. Thankfully, you will find a new action center that will collect all messages from apps in one place. Also, it will notify you of the quick actions against those notifications.
You can relate to this feature with iOS and Android’s notifications drawers. Interestingly, this feature allows the user to switch on/off the connectivity and let to customize display brightness and contrast.
The Mobile Connection
The mobile connection is another blissful option from windows 10 features. This option allows the user to establish connectivity between iOS or Android with a PC. To start this process, you need to sync your smartphone to Windows 10 by following this path, like-
Go to Settings => Phone settings => click Add a phone => then a new window name Link your phone and PC will open. After that, you need to provide the required information on the empty box and enjoy this feature. Besides, you need to modify the phone settings as well.
Microsoft Edge Web Browser
In the previous OS, you will see the Internet Explorer whereas the latest Windows 10 has Microsoft Edge. This feature is integrated with Windows 10’s voice-controlled assistance named Cortana. Therefore, the user can easily search whatever they want from the internet through voice command. Users have the option to use Edge to annotate web pages. These annotations will store on OneDrive and the other user can use those anytime. Besides, you will find the “Reading List” function that syncs content between your devices. Moreover, the “Reading Mode” allows the user to go through the site content more easily.
If you find this browser is not as your default browser, then follow this path-
Navigate to Start => Settings= > System then choose Default Apps and scroll down to select it as your default Web browser.
FAQ
What are the main features of Windows 10?
More than 1 billion users join the windows 10 user club. This massive popularity could gain due to its blissful features of windows 10. Here some features make this OS different than other OS, like-
- New Start Menu.
- Cortana- A Standout Feature
- Multitasking Facility.
- New Action Center
- Xbox App
- Universal Apps
- Continuum
- The Mobile Connection
- Microsoft Edge Web Browser
Here some features that are exclusive on windows 10.
What is Windows 10 and its features?
Windows 10 is a series of operating systems from Microsft corp. This OS released in 2015, till now it has placed in billion users devices. Prior to this OS, Microsoft released 10 more OS in different years. The last OS from Microsoft is Windows 8.1 that released in 2013.
This OS has some blissful features that used as a trigger to gain popularity, like-
- New Start Menu.
- Cortana- A Standout Feature
- Multitasking Facility.
- New Action Center
- Xbox App
- Universal Apps
- Continuum
- The Mobile Connection
- Microsoft Edge Web Browser
What cool things can Windows 10 do?
Windows 10 is not just a normal OS rather it is packed with many cool features. Many users don’t know those awesome things, for instance-
- Secret Start Menu
- Show Desktop Button
- Your system will update for a longer period
- A user-friendly Start Menu
- Shake features.
- Rotate the Screen
- Enabling Slide to Shutdown Facility
- Nearby Sharing Option
- Mixed Reality Viewer
- Control Smart Home
- Dark Mode and Light Mode
- Hidden Game Bar
- Unlock Kaimoji and Symbols
What are the advantages of Windows 10?
Windows 10 OS comes to the market with some blissful amenities. Therefore, you already hear that it placed in more than a billion users club. Let’s see which benefits are waiting for the users.
- The virus protection is excellent.
- DirectX 12 will provide a blissful gaming experience.
- Improved multitasking facility
- This OS is lighter and faster than the previous one.
- An updated action center.
What are the functions of Windows?
Windows is a combination of some programs that make a PC run smoothly. Microsft corp brought the first OS back in November 1985, till now it has released 11 OS. Let’s see how this bunch of programs (Windows) helps us.
- Windows helps a user to interact with the PC using the mouse, keyboard, microphone, etc.
- It helps to controls the stored data such as images, files, and so on.
- Naturally, you need to open many apps and close them after finishing the task. Here the windows link with the computer memory and let those work.
- Whenever any problem arises related to the system or virus the Windows OS will deal with those issues.
Final Thought
Nobody may see daydream of owning a personal computer in the last years of the last decades. But now, you can’t think of a civilized person without a PC. These dramatic changes can be possible with some continuous upgrades and make it purchase friendly. Alone a computer can’t fulfill a user’s want rather a bunch of programs is mandatory. Therefore, an OS is a must-have item for a PC user. Microsoft’s latest Windows 10 is such an OS that places a billion user’s computer. Here Windows 10 features are liable behind this eye-catching popularity. Hopefully, our article will notify you of such nine amazing features. Last but not least, if you are not still a Windows 10 user, try this now.